Checkout API
Ottu provides a comprehensive collection of APIs that offer a seamless and efficient way to test payments and enable merchants to accept and process transactions instantly. The Checkout API is the cornerstone of any payment initiation, whether it's API-based or SDK-based.
Best Practices and Guidelines
In order to ensure optimal transaction success tracking and minimize the number of required payment transactions, merchants should create a Payment Transaction as soon as the amount is known. This typically occurs when a customer adds their first item to their cart. Following this, any changes to the total amount should be updated using the Checkout API PATCH method.
By updating the same payment transaction, rather than creating a new one for each payment attempt, merchants can more effectively trace customer interactions with their cart. This is particularly useful for events such as insufficient funds, where a customer may remove an item from their cart and successfully complete a transaction on their next attempt. Tracking and analyzing such events can help merchants make data-driven decisions for future improvements.
Ottu offers SDKs and tools to speed up your integration. See Getting Started for all available options.
Create a new Payment Transaction
Retrieve Payment Transaction
Update Payment Transaction
Partially Update Payment Transaction
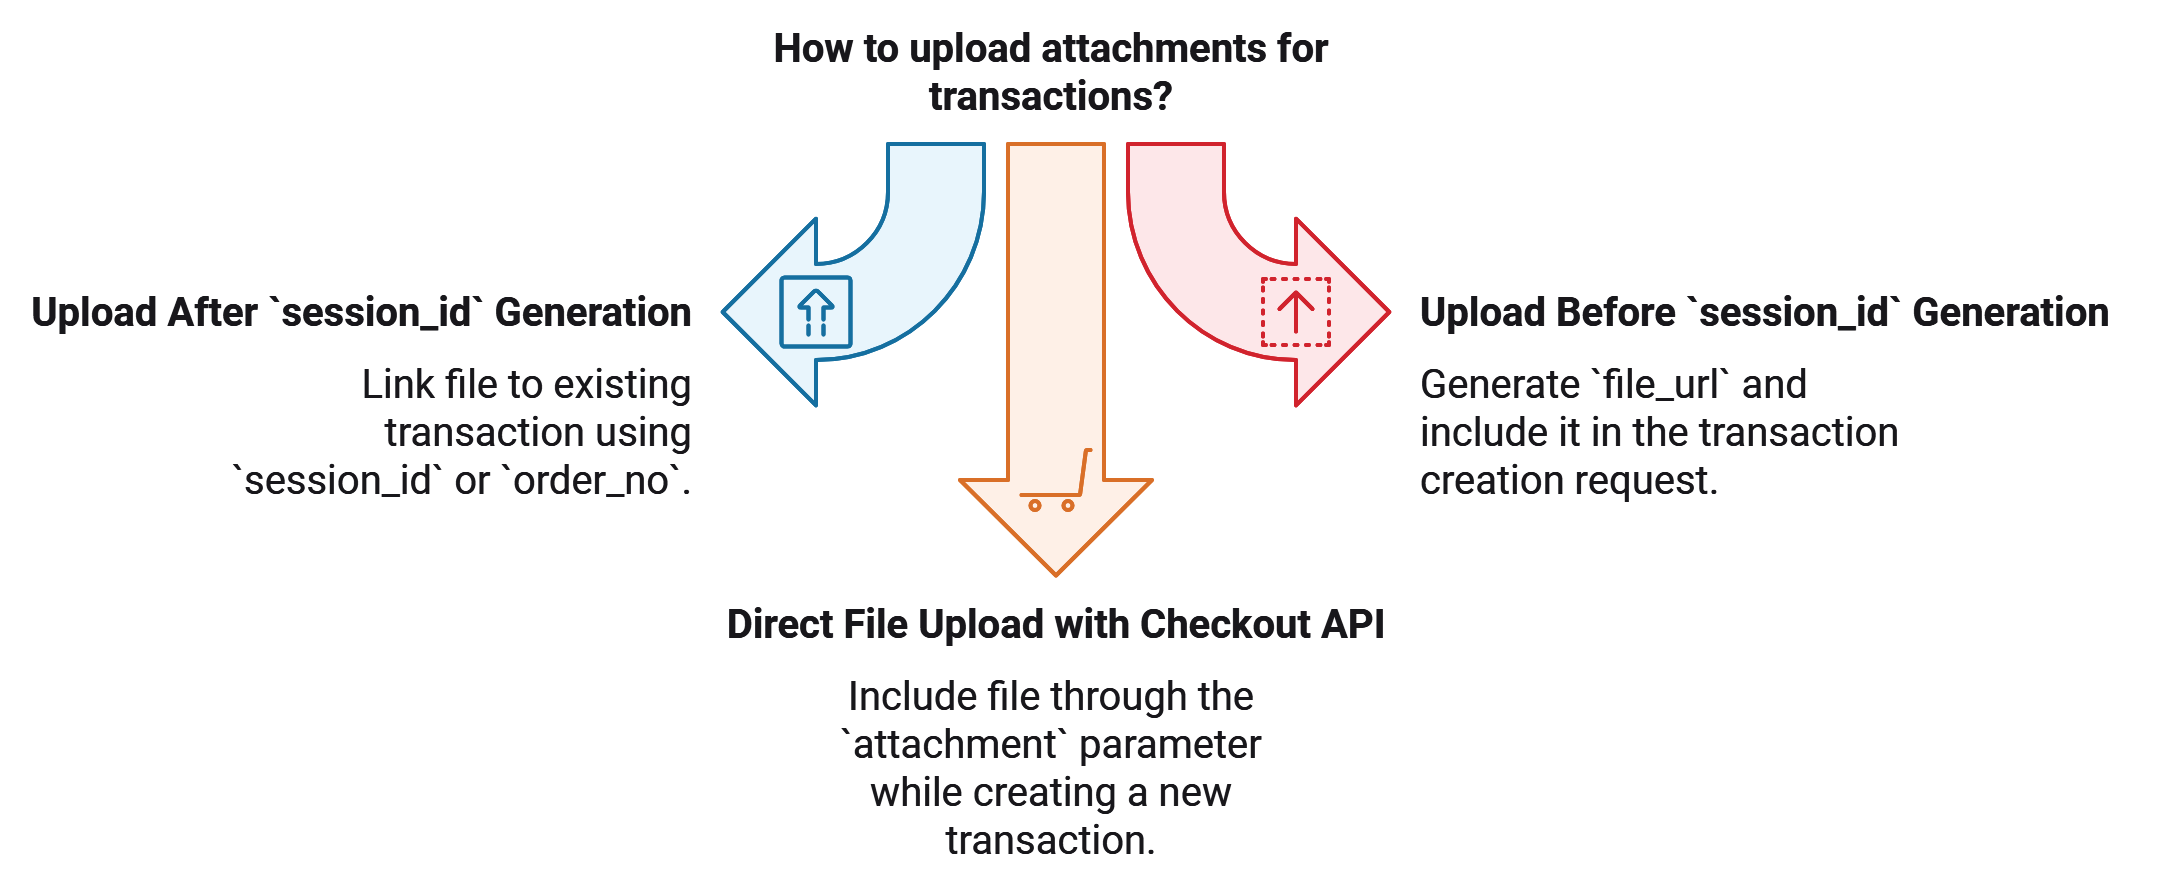
Upload Attachment
The Upload Attachment API allows merchants to upload a file, generating a file_url that can be linked to transactions. Files can be uploaded independently or directly associated with a transaction by including session_id or order_no in the request.
Use Cases
- Upload Before
session_idGeneration: Upload a file before creating a transaction, results generatingfile_url - Upload After
session_idGeneration: Add files to an existing transaction by providingsession_idororder_no. - Update File After Payment: Replace an attached file after payment by uploading a new file to be associated with the existing transaction (i.e., attach the invoice).
Specifications
- Single file upload per request.
- Direct transaction linking by including
session_idororder_no. - Reusable file URLs for new transactions using
attachment_upload_urlin the Checkout API. - Supports URL shortening for easier access with
shortify_attachment_url(whensession_idororder_nois provided). - Maximum file size: Upload limit is 2.5 MB.
- Support for various file formats such as PDF, JPEG, PNG, DOC, DOCX, JPG, XLS, XLSX, and TXT.
Setup
Before using the Upload Attachment API, ensure the following conditions and setup steps are met for successful integration.
- File Format and Compatibility
When uploading a file, ensure it complies with the accepted file formats: PDF, JPEG, PNG, DOC, DOCX, JPG, XLS, XLSX, and TXT. The API will only process files with these extensions. - Request Body Format
All request parameters must be sent usingmultipart/form-data. JSON format is not supported.
Options for Using the Upload Attachment API:
Upload Before session_id Generation
For cases where a file needs to be uploaded to the server before creating any transaction.
- Upload the file independently to generate a
file_url. - Use the generated
file_urlby adding it to theattachment_upload_urlparameter in the Checkout API when creating the transaction.
Upload After session_id Generation
For cases where a file is uploaded to the server after the transaction has been created:
- Create Transaction: Creating a new transaction using Checkout API. This will result generated
session_idandorder_no(if provided). - Include:
session_idororder_noin theUpload Attachment APIrequest payload to link the file directly to an existing transaction. - URL Shortening (Optional): When providing
session_idororder_no, you may setshortify_attachment_urltotrueto receive a shortened file URL.
Authentication
Supported Methods
For further information, please refer to the Authentication section.
How It Works
The Upload Attachment API supports two options for uploading the file.
Upload Before session_id Generation
Upload a file before creating a transaction to generate a file_url. This file_url can then be included in the attachment_upload_url parameter of the Checkout API when the transaction is created. This approach is ideal when the file should be accessible from the start of the transaction process.
1. Request Payload
The merchant sends a request to the Upload Attachment API, using the following key parameters in a multipart/form-data format:
file(Required): The actual file to be uploaded, in one of the supported formats PDF, JPEG, PNG, DOC, DOCX, JPG, XLS, XLSX, and TXT.
2. Response Payload
Once the upload is complete, the API response includes:
file_url(Mandatory): The relative URL of the uploaded file in storage, which can be used to link the file to other transactions.original_filename(Mandatory): The original name of the uploaded file.
file_url is used to link the uploaded file to a new transaction by adding it to the attachment_upload_url parameter in the Checkout API request.
Upload After session_id Generation
Upload a file after the transaction is created. Include session_id or order_no in the upload request to link the file directly to the existing transaction. Optional URL shortening with shortify_attachment_url is available when session_id or order_no is provided. This scenario is helpful when file upload depends on transaction-specific data or upon successful transaction creation.
1. Request Payload
The merchant sends a request to the Upload Attachment API, using the following key parameters in a multipart/form-data format:
file(Required): The actual file to be uploaded, in one of the supported formats PDF, JPEG, PNG, DOC, DOCX, JPG, XLS, XLSX, and TXT.session_idororder_no(Required): To identify the transaction for which the file is being uploaded.shortify_attachment_url(Optional): If set totrue, the response will include a shortened URL for the uploaded attachment.
2. Response Payload
Once the upload is complete, the API response includes:
file_url(Mandatory): The relative URL of the uploaded file in storage, which can be used to link the file to other transactions.original_filename(Mandatory): The original name of the uploaded file.attachment_short_url(Conditional): A shortened URL for the uploaded file, available only when:session_idororder_nois provided.shortify_attachment_urlis set to true.
The generated file_url can be used to upload the file to different and multiple transactions, though not within the same API call.
Attachment Upload
Guide
This guide provides step-by-step instructions on how to use the Upload Attachment API. Follow these steps to successfully integrate and utilize the API.
Upload Before session_id Generation
Here only the file parameter is required in the Upload Attachment API request payload, as shown below:
1. Upload Attachment Request Payload
curl --location '<<ottu-url>>/b/checkout/v1/upload-attachment/' \
     --header 'Authorization: ••••••' \
     --form 'file=@example/Ottu_logo.png'
2. Upload Attachment Response Payload
{
  "file_url": "payment_transactions/attachments/Ottu_logo_1F31q4q.png",
  "original_filename": "Ottu_logo.png"
}
After the file is uploaded, the API returns a file_url. This URL can be used to link the uploaded file to a new transaction by including it in the attachment_upload_url parameter of the Checkout API request payload.
3. Checkout Request Payload
{
  "type": "payment_request",
  "pg_codes": ["credit-card"],
  "amount": "1",
  "attachment_upload_url": "payment_transactions/attachments/Ottu_logo_1F31q4q.png",
  "currency_code": "SAR"
}
4. Checkout Response Payload
{
  "attachment": "<<ottu_url>>/media/payment_transactions/attachments/Ottu_logo.png",
  "attachment_upload_url": "payment_transactions/attachments/Ottu_logo_1F31q4q"
  /// rest of checkout response parameters
}
Upload After session_id Generation
The transaction identifiers must be included in the Upload Attachment API request payload.
1. Create a Payment Transaction
Before uploading an attachment, a payment transaction must be created via the Checkout API. This transaction generates a session_id, which is necessary for the next step.
Checkout Request Payload
{
  "type": "payment_request",
  "pg_codes": ["credit-card"],
  "amount": "1",
  "order_no": "Example_order",
  "customer_phone": "1234556",
  "currency_code": "SAR"
}
Generated Transaction identifier:
"session_id": "037ad20c32615e7bc2f9620fd0aec912423e06c4"
Provided Transaction identifier:
"order_no":"Example_order"
Either the generated session_id or the merchant-provided order_no can be used to identify the transaction. In the following steps, we will use session_id as the reference.
2. Prepare the Upload Attachment Request Payload
Once you have the session_id from the payment transaction, prepare your request to upload the attachment.
- Request Method:
POST - API Endpoint:
<<ottu-url>>/b/checkout/v1/upload-attachment/ - Content-Type:
multipart/form-data
3. Request Parameters
Ensure that your request includes the following parameters:
- session_id: The
session_idgenerated during the payment transaction. - file: The file path to be uploaded, ensuring it meets the supported file format requirements (PDF, JPEG, PNG, DOC, DOCX, JPG, XLS, XLSX, and TXT)
- shortify_attachment_url (optional): Set to
trueif you prefer a shortened URL in the response.
4. Upload Attachment Request Payload
curl --location '<<ottu-url>>/b/checkout/v1/upload-attachment/' \
     --header 'Authorization: ••••••' \
     --form 'session_id="037ad20c32615e7bc2f9620fd0aec912423e06c4"' \
     --form 'file=@example/Ottu_logo.png' \
     --form 'shortify_attachment_url=true'
5. Upload Attachment Response Payload
If the request is successful, you will receive a response containing the uploaded file's details, including the file_url and, if applicable, a shortened URL. Here's an example response:
{
  "file_url": "payment_transactions/attachments/Ottu_logo.png",
  "original_filename": "Ottu_logo.png",
  "attachment_short_url": "https://e.pay.kn/27opcB5ZqxlM"
}
Best Practices
To ensure a smooth and efficient integration with the Upload Attachment API, follow these best practices:
1. Validate File Types and Sizes
- Check file formats: Ensure that the uploaded file adheres to the supported formats (
pdf,jpeg,png,doc,docx,jpg,xls,xlsx, andtxt). This prevents errors during the upload process.
2. Handle API Responses Efficiently
- Check for errors: Always check the API response for success or failure indicators, and handle errors appropriately. Log any errors for further analysis.
- Store important details: Save the
file_urlorattachment_short_urlreturned in the response for future reference or for displaying to users.
3. Optimize for Performance
- Use short URLs wisely: Only set
shortify_attachment_urltotrueif you intend to use the shortened URL. Avoid unnecessary operations if the original URL is sufficient.
4. Use session_id or order_no Correctly
- Transaction identification: You can use either the generated
session_idor the merchant-providedorder_noto associate the attachment with the transaction. Be sure to use the correct identifier based on your transaction flow.
Different Way to Upload Attachment
Direct File Upload with the Checkout API
Merchants can use the Checkout API to create a new transaction and associate a file with it. This can be achieved by including the file through the attachment parameter. However, because multipart/form-data does not support adding nested values to parameters (e.g., notifications or extra), it is often more practical to use the attachment_upload_url. This allows for a more flexible and reliable way to link files to transactions while preserving parameter structure.
One-Step Checkout
One-Step Checkout combines the Checkout API and the Native Paymentsinto a single backend request.
Instead of creating a session first and then calling a separate payment endpoint, you can perform both actions in one step by including the payment_instrument parameter.
This flow is ideal when you want to immediately process a payment as it's created, for example:
- A "Buy Now" button on a product page that charges the customer right away.
- A subsequent auto-debit payment using a stored token.
- A wallet-based purchase (Apple Pay / Google Pay) where you already have the payment payload on the server and don't use Checkout SDK.
- Instant, server-triggered payments that must both create and execute the payment in real time.
By using payment_instrument, Ottu automatically creates the session, validates the configuration, and processes the payment through the selected gateway — returning a unified response that includes both the session and transaction details.
See One-Step Checkout in action with a saved token on the Recurring Payments live demo.
When to Use
Use One-Step Checkout when you:
- Want to create and process a payment in a single backend call.
- Need to handle instant payment actions (like "Buy Now") directly from your backend.
- Are performing a recurring or auto-debit payment using a stored token.
- Already have the payment credentials (wallet payload or token) and don't need the SDK-based collection flow.
Supported Instruments
| instrument_type | Description | Typical Use Case |
|---|---|---|
apple_pay | Apple Pay digital wallet | Apple Pay supported devices |
google_pay | Google Pay digital wallet | Google Pay from Android or Chrome |
token | Token-based stored or recurring payment | Auto-debit or saved card tokenized payments |
Rules & Restrictions
- Only one pg_codes is allowed per request.
- The selected gateway must support the chosen instrument_type.
- The payload must match exactly the format received from the provider — no alterations should be made.
- The API must be called server-to-server, never from the client.
How to Use it
When your backend is ready to initiate a direct payment using a wallet or card token (e.g., Apple Pay), it should call the Checkout API and include the payment_instrument parameter. This parameter tells Ottu to both create and attempt to pay the transaction in a single call, using the payment data you provide. The example below shows how this works for Apple Pay, but the same structure applies to other instruments (e.g., Google Pay) with their own payload formats.
Server-to-server only
The payment_instrument parameter must only be used in server-to-server integrations. Never call this API directly from the client side, as it may expose sensitive credentials or payment data.
Request Example: Apple Pay
curl--location 'https://sandbox.ottu.net/b/checkout/v1/pymt-txn/'\
  --header 'Authorization: Api-Key GYj5Na8H.29g9hqNjm11nORQMa2WiZwIBQQ49MdAL'\
  --header 'Content-Type: application/json'\
  --data - raw '{
"type": "e_commerce",
"pg_codes": [
  "knet-apple"
],
"amount": "1",
"currency_code": "KWD",
"payment_instrument": {
  "instrument_type": "apple_pay",
  "payload": {
    "paymentData": {
      "data": "b1lwXgprLF8Ca/HeVwjVq3qHovPdwJ8M8IAYxG...",
      "signature": "MIAGCSqGSIb3DQEHA...",
      "header": {
        "publicKeyHash": "aqFxqE8fnxrAP7...",
        "ephemeralPublicKey": "MFkwEwYHKoZIzj0CAQYIKoZIzj0D..."
      },
      "version": "EC_v1"
    },
    "paymentMethod": {
      "displayName": "Visa 5766",
      "network": "Visa",
      "type": "debit"
    },
    "transactionIdentifier": "7134E7D22988391FA183A61A191AE14CD0..."
  }
}
}
'
In this example, Ottu receives an Apple Pay token in payment_instrument.payload and uses it to authorize and capture the payment with the selected gateway.
Response Behavior When payment_instrument Is Used
When a valid payment_instrument is provided, Ottu creates the transaction and attempts to complete the payment immediately in the same Checkout API call. Instead of returning the standard Checkout API response (used for redirect/hosted flows), the API returns a transaction result payload that follows the same structure as the payment notification (webhook) data. Your backend can process this response directly as the final payment result (e.g., mark the order as paid when state = "paid").
Response Example
{
  "result": "success",
  "session_id": "dc762e8e9dc937c84de01a79fdb74439b6081546",
  "state": "paid",
  "signature": "7134E7D22988391FA183A61A191AE14CD0",
  ...
}
FAQ
What's Next?
- Checkout SDK — Drop-in UI for web and mobile that uses the Checkout API
- Webhooks — Handle payment results on your server
- Operations — Refund, capture, or void completed transactions
- Recurring Payments — Set up auto-debit using saved cards